

Last updated September 10, 2026
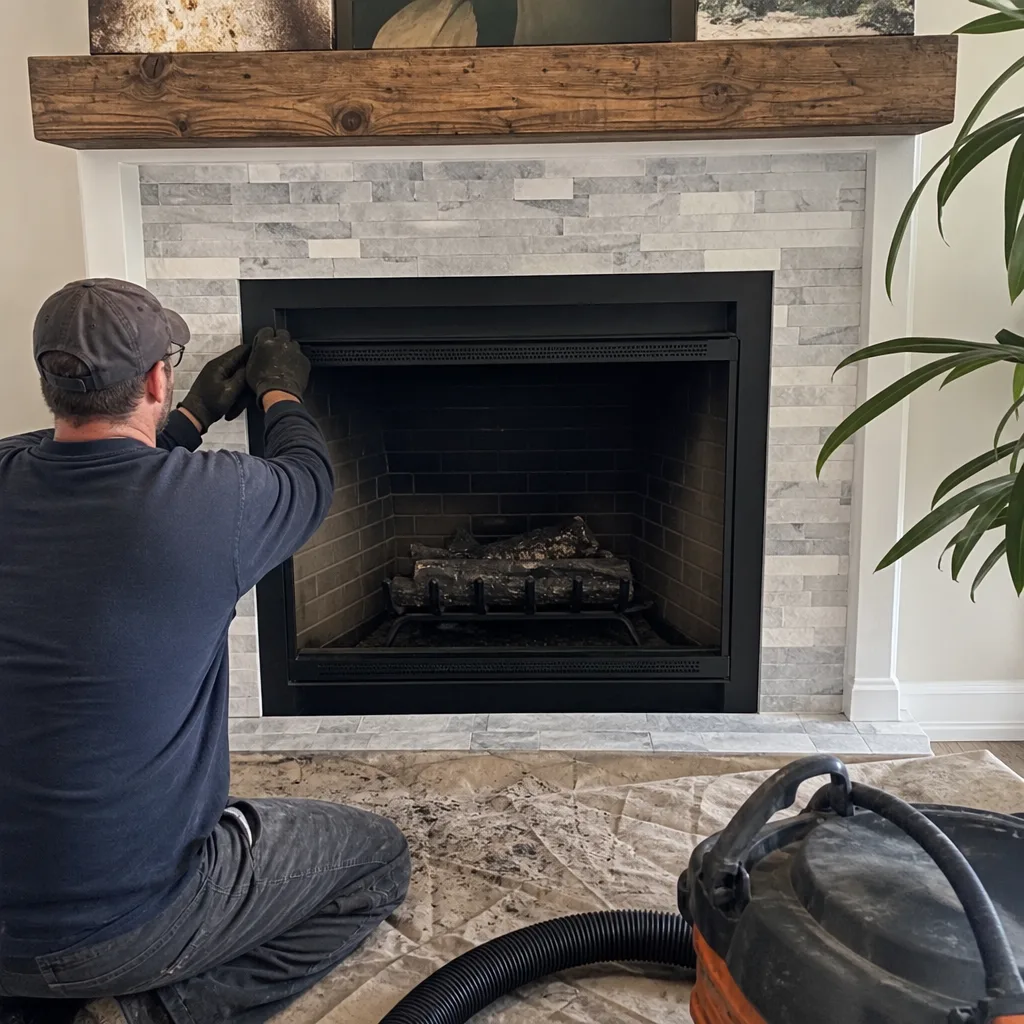
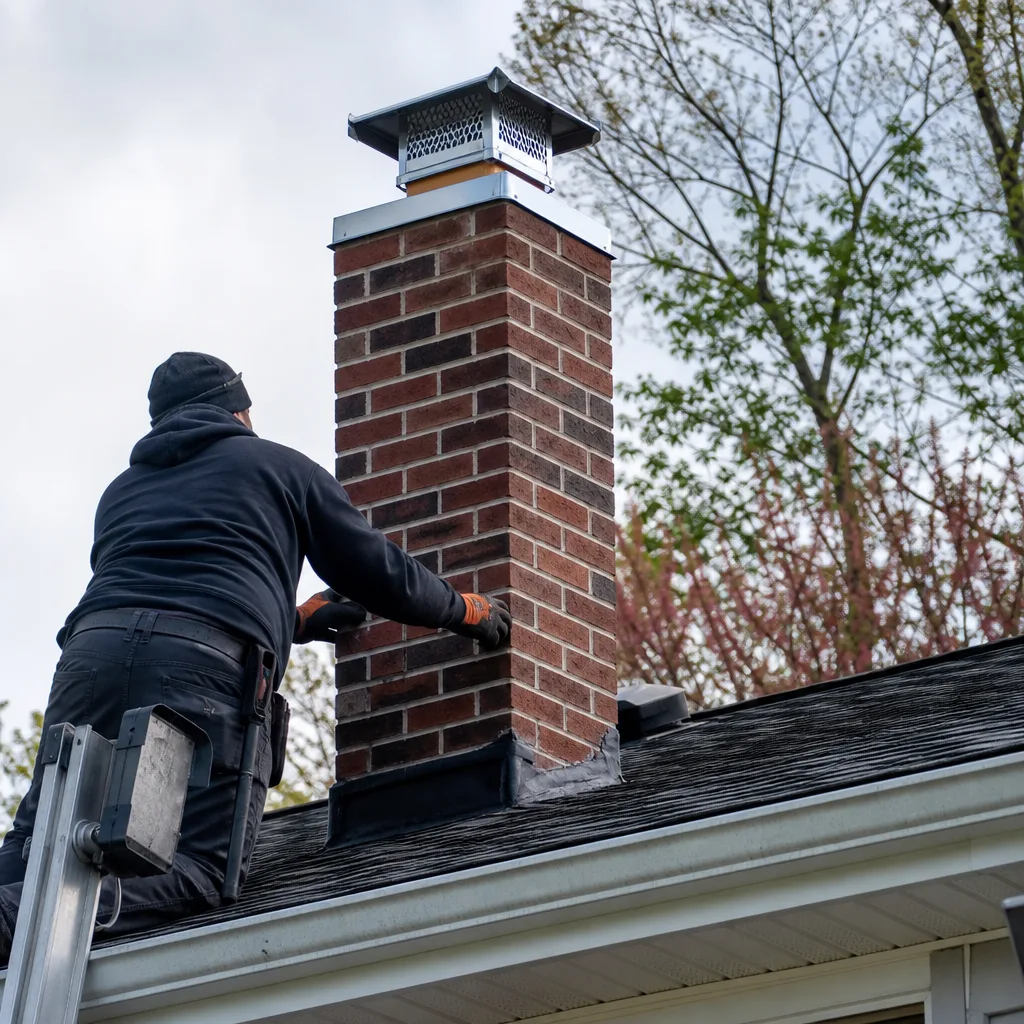
Level 1 sweep and inspection to the NFPA 211 annual standard - flue, crown, cap, and flashing checked and photographed
Chimney sweep logs do not sweep chimneys. They loosen some creosote - which then falls where a brush and vacuum still have to collect it.
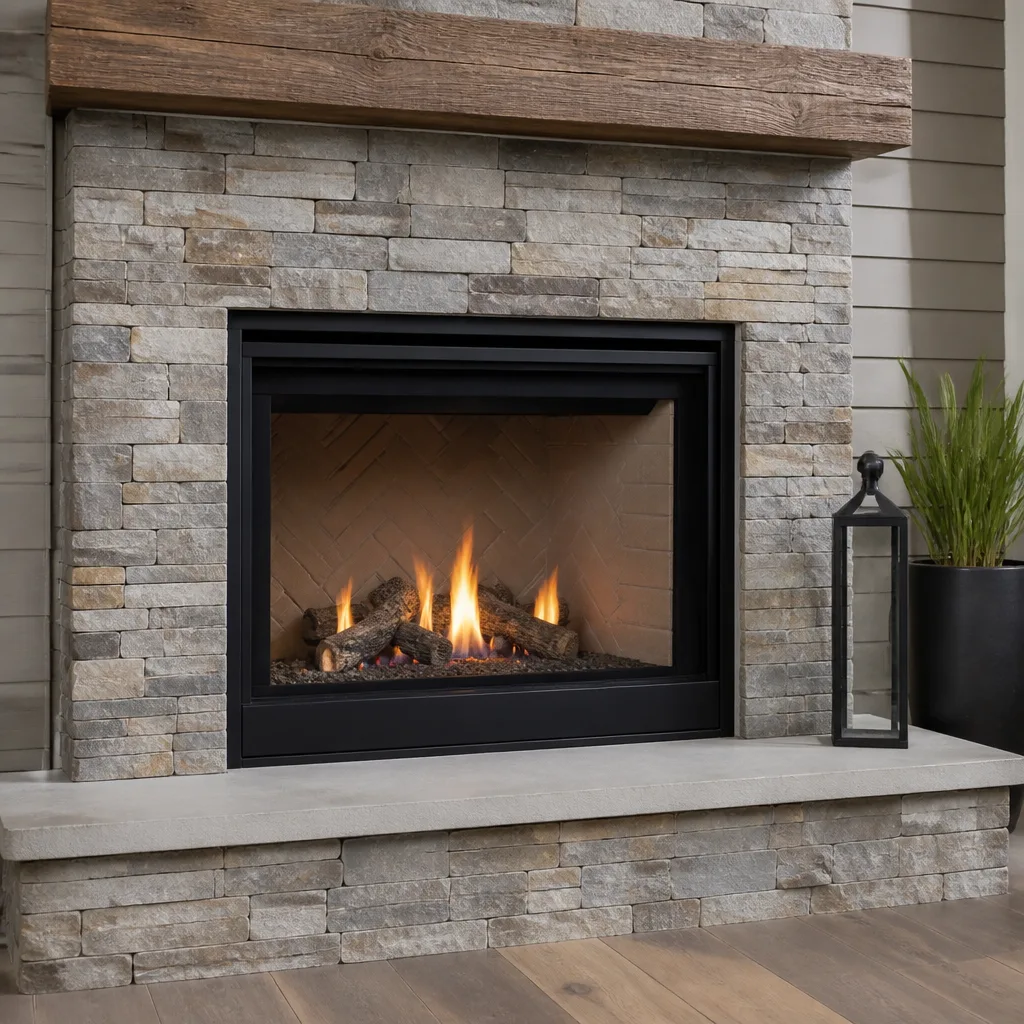
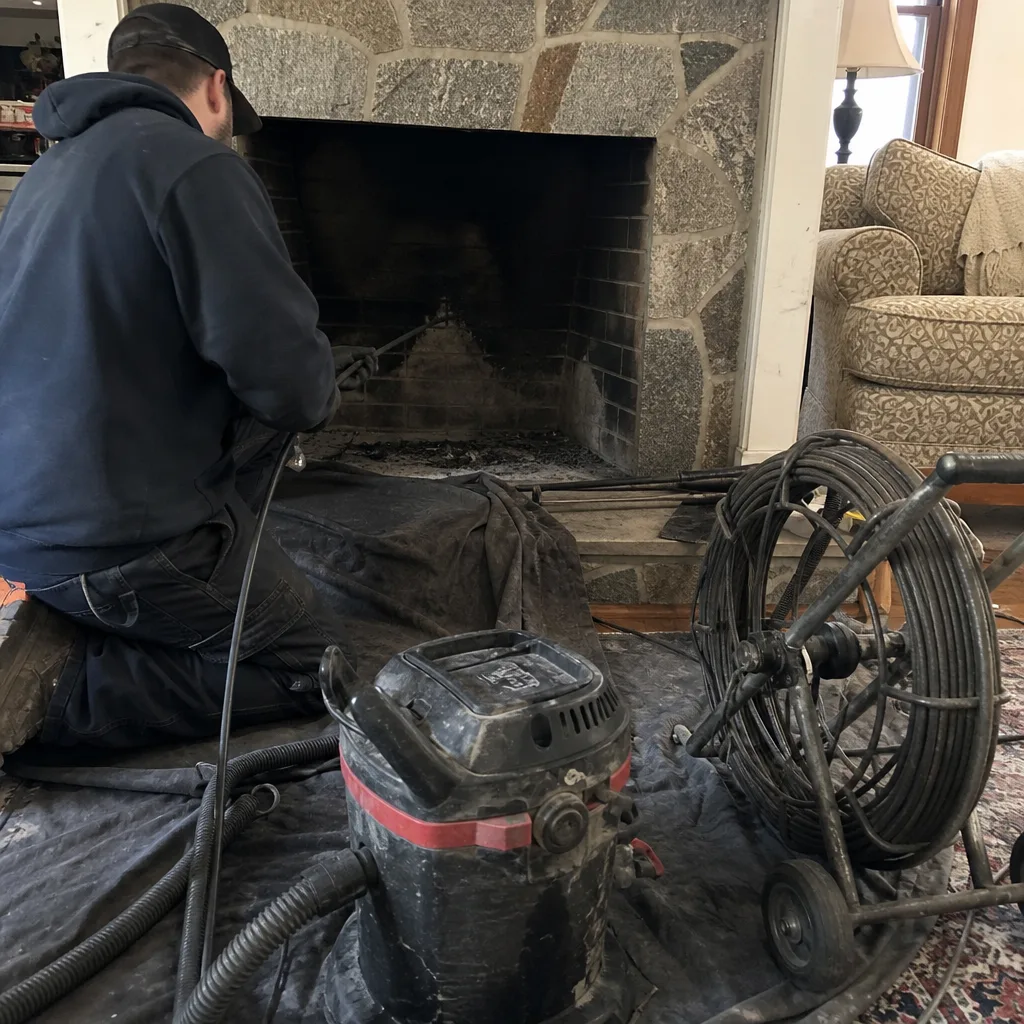 Before
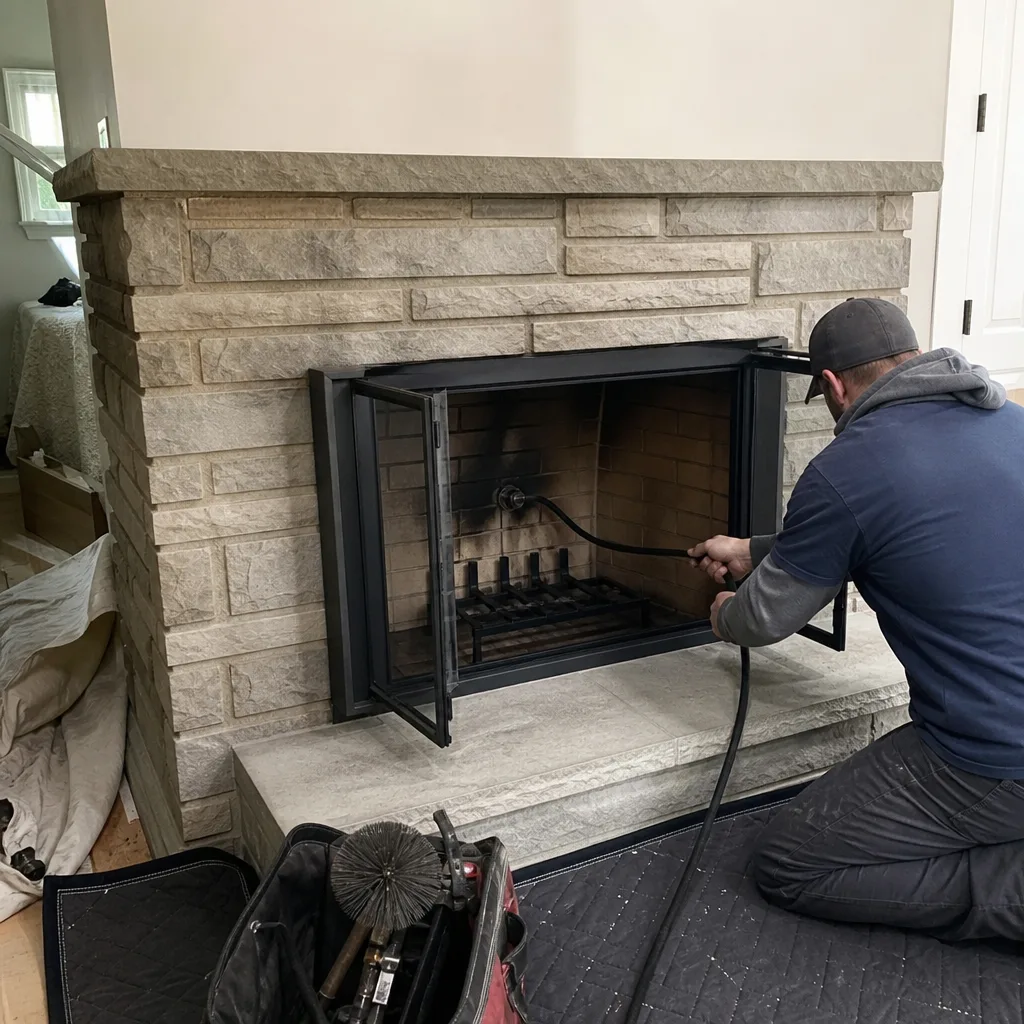 After
After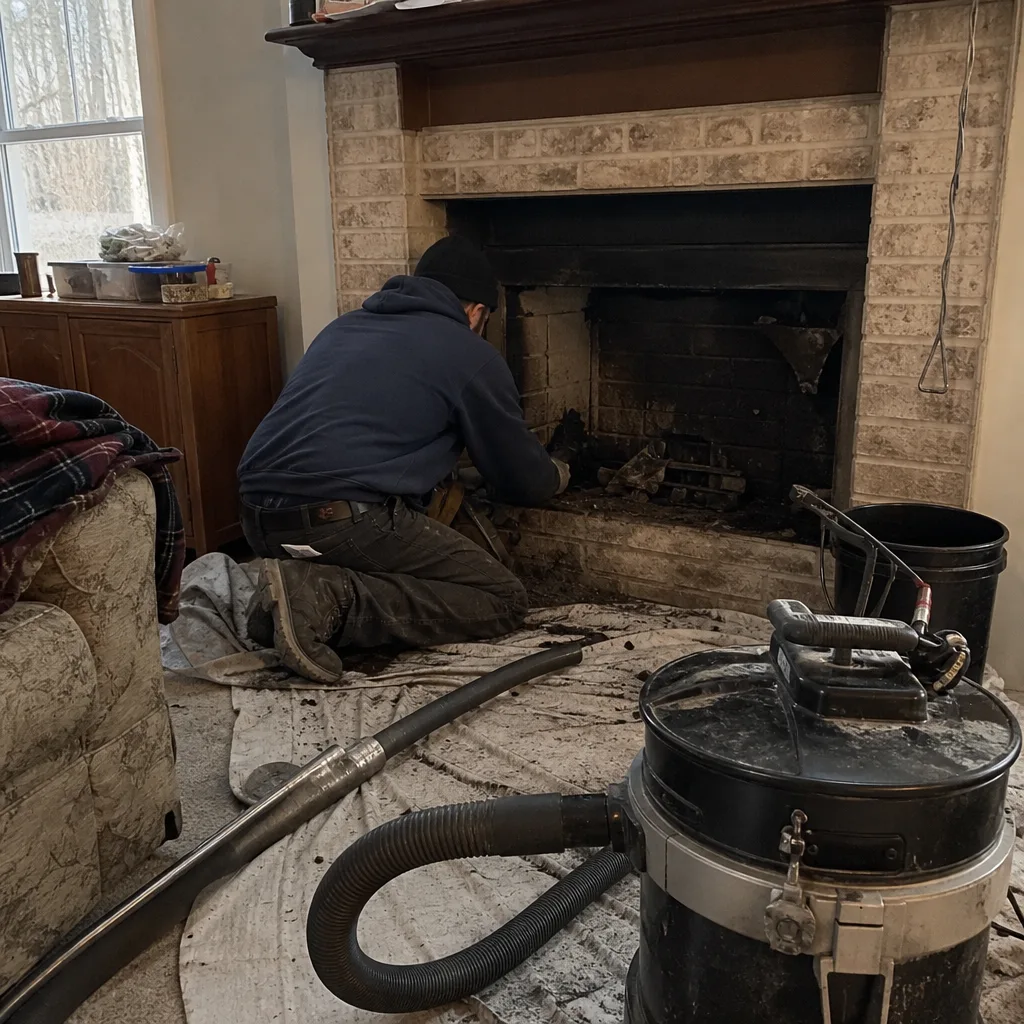 Before
 After
After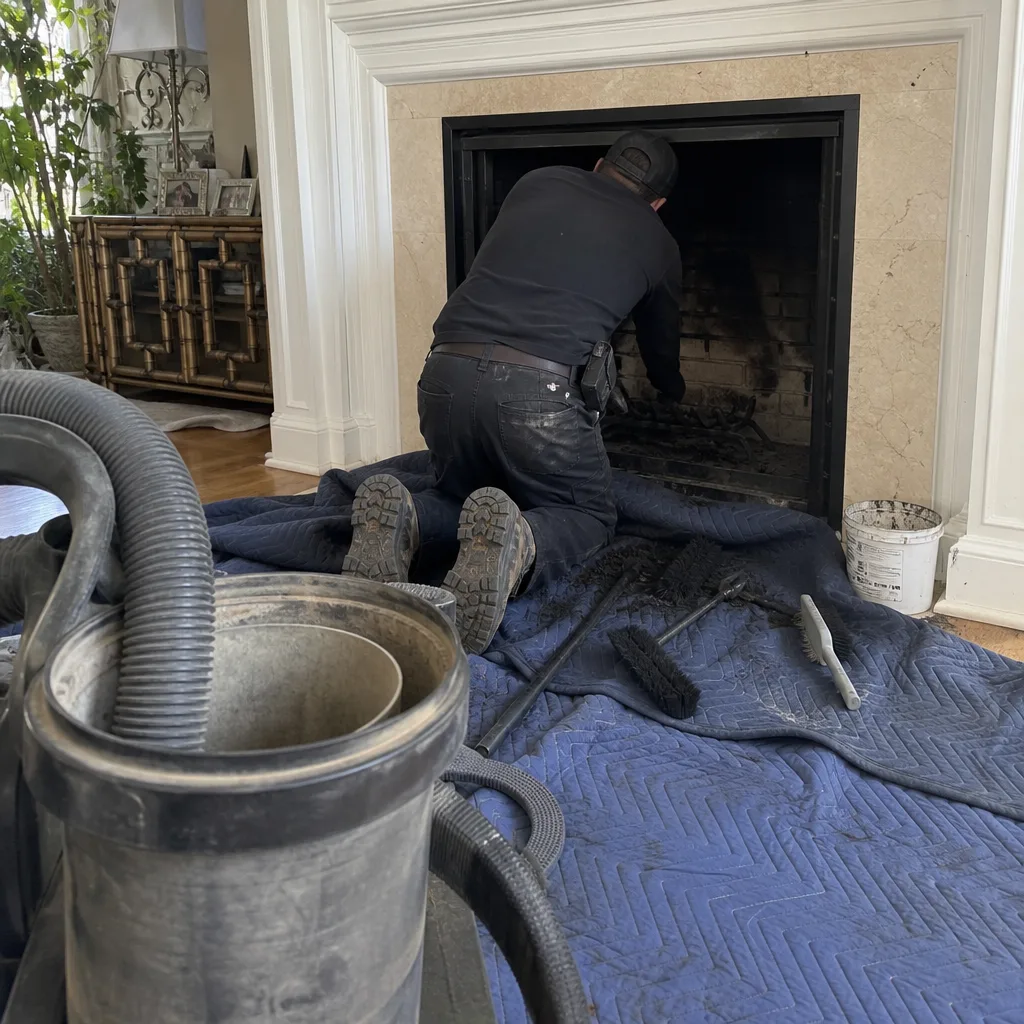 Before
 After
AfterChimney Cap & Crown Maintenance Checklist for Coventry Homeowners
Water, not fire, causes most of the chimney damage we repair in Coventry, and almost all of it enters through an open flue or a cracked crown. The cap and crown are the two cheapest components on your chimney to maintain, yet they get checked less often than anything else. If you need professional help, explore our Chimney Cap & Crown services. A $40 stainless cap can prevent the kind of water damage that runs into thousands, and most Coventry homeowners don’t look at either until there’s a stain on the ceiling. This guide gives you the exact checklist we use on our own trucks, adapted for what you can do from your lawn with a pair of binoculars.
Quick Answer
A chimney cap and crown maintenance checklist for Coventry homeowners comes down to two visual inspections per year: check the cap for rust, dents, missing screws, and gaps where it meets the flue tile, and check the crown for hairline cracks, spalling, and standing water. Do this in spring and late fall, replace a failing cap before winter, and seal crown cracks while they’re still hairline, not structural. Most cap replacements cost $150 to $400 installed, and most crown repairs cost $300 to $900, depending on whether it’s a sealant job or a full recast. For a detailed look at pricing, see our Chimney Cleaning Cost Breakdown: The Coventry Homeowner’s Reference for 2026.
Table of Contents
- Why Water Wins in Coventry: What the Cap and Crown Are Up Against
- The Visual Difference Between a Cap That’s Working and One That’s Failing
- How Coventry’s Freeze-Thaw Cycles Attack the Crown First
- The Seasonal Inspection Sequence: What to Check From the Ground vs. What Needs a Ladder
- Cap Sizes and Mesh Gauges for Standard Coventry Flue Tiles
- How to Document Cap and Crown Condition Year Over Year
- Common Mistakes to Avoid
- When to Call a Professional
- Frequently Asked Questions
- The Bottom Line
Why Water Wins in Coventry: What the Cap and Crown Are Up Against
Your flue doesn’t care how the fire looks. It cares how it breathes, and it cares whether water is getting in. In Coventry, water is the enemy that never lets up. We get roughly 50 inches of precipitation a year, spread across rain, snow, and ice, and the town’s elevation and wooded lots mean chimneys sit in damp shade for weeks at a time. The crown, the concrete or mortar slab at the very top of the chimney, is the first line of defense. It sheds water away from the flue and the brick. The cap sits on top of the flue tile itself and keeps rain, snow, leaves, and animals from going straight down the hole.
Here’s the part most people miss: a crown and a cap are not the same thing, and they fail differently. A crown fails slowly, through cracks that open and close with the seasons. A cap can fail suddenly, when a branch smacks it in a storm or a rusted screw lets go. Both failures let water into places you can’t see from the ground. By the time you see a stain on the ceiling below, the water has already been working on your chimney for months, sometimes years.
We’ve pulled apart chimneys in South Coventry and along Route 31 where the crown looked fine from the yard but had a crack running along the back side wide enough to slide a quarter into. The homeowner had no idea. The flue tile below was spalling, the brick was absorbing water, and the damper was rusted shut. That’s a $2,500 repair that started as a $50 crown seal. This checklist exists so you catch it before we have to.
If you want the full picture of how we handle cap and crown work in Coventry, start with our Chimney Cap & Crown in Coventry page. It covers what a proper crown pour looks like and how we match caps to the exact flue tile on your chimney.
The Visual Difference Between a Cap That’s Working and One That’s Failing
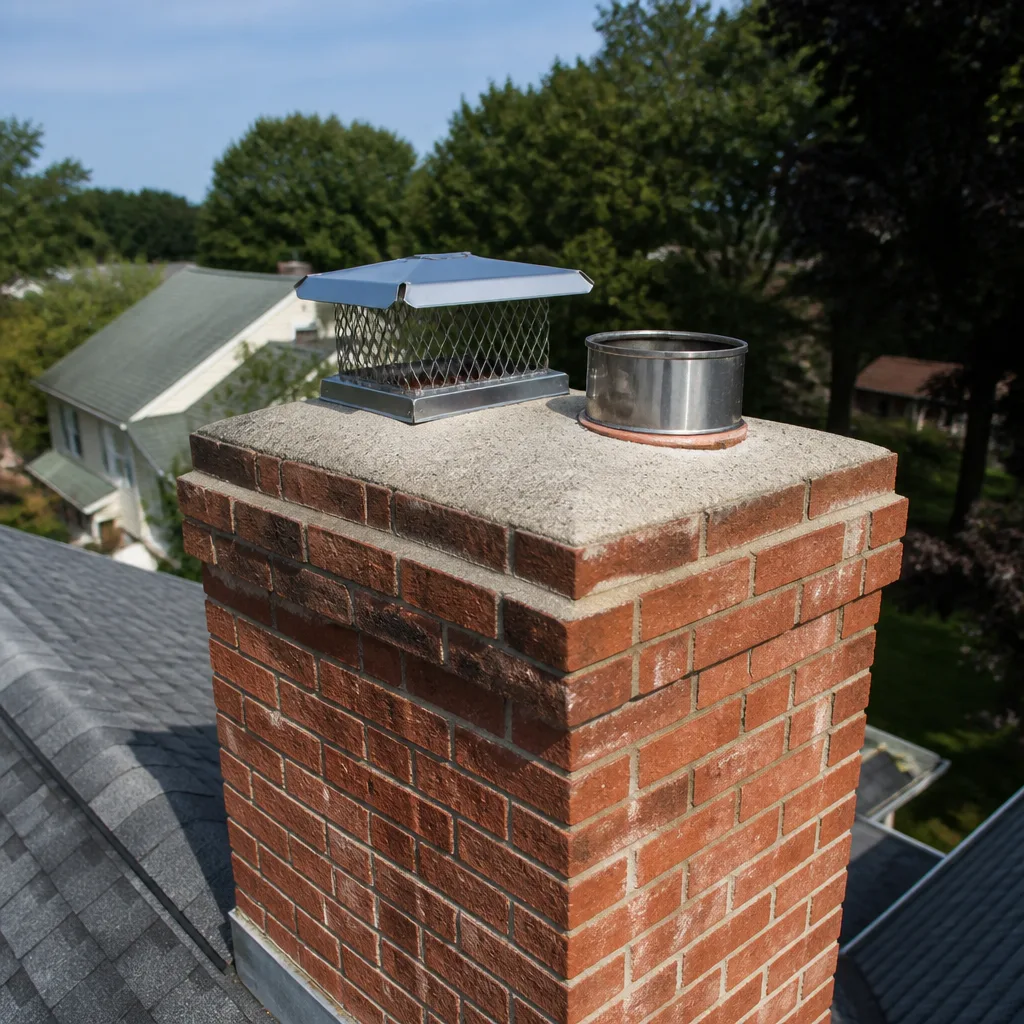
Most caps fail at the seal, not the top. The stainless steel hood can look perfectly intact from the ground, shiny even, while the real problem is happening where the cap’s base meets the flue tile. There are four visual indicators that separate a cap doing its job from one that’s cosmetically intact but functionally done.
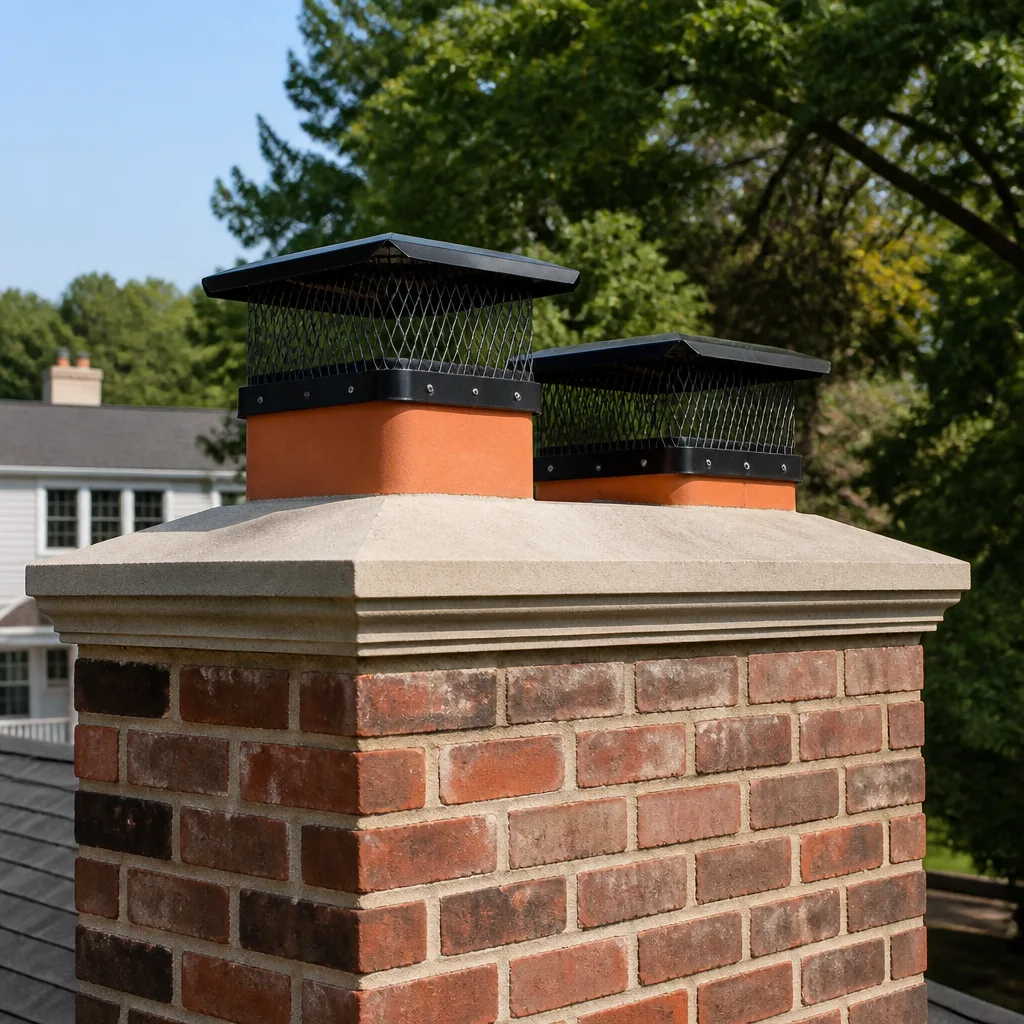
A working cap has these traits:
- The hood extends at least 2 inches beyond the flue tile opening on all sides, so wind-driven rain can’t curl underneath and into the flue.
- The mesh sides are intact, no tears, no pulled-away corners, and the mesh gauge is fine enough to stop a starling but open enough to let smoke draft freely.
- The mounting screws are tight and rust-free where the base meets the flue tile, and there’s a bead of high-temp sealant around that seam.
- The cap sits square and level on the flue tile, not cocked to one side, not leaning into the prevailing wind.
A failing cap has these traits:
- Rust streaks running down the flue tile or the crown. Galvanized caps rust from the inside out, and by the time you see the streaks, the mesh is usually paper-thin.
- Gaps between the cap base and the flue tile, where you can see daylight or a finger-width of space. That’s an open highway for rain and snow.
- Missing or loose screws. On a windy ridgeline in Coventry, one loose screw becomes a missing cap by February.
- Dents or creases from branches. A dented hood channels water to one side, and that concentrated flow erodes the crown below it.
The cap that worries us most is the one that looks fine and isn’t. We’ve removed caps in Coventry that were held on by a single rusted screw and a hope. The homeowner had been telling themselves for two seasons that it “looked okay from down here.” It wasn’t okay. It was one storm away from landing in the yard and leaving the flue wide open.
How Coventry’s Freeze-Thaw Cycles Attack the Crown First
Coventry averages more than 80 freeze-thaw cycles per year. That number matters because it’s the single biggest driver of crown failure in this part of Connecticut. Water gets into a hairline crack, a cold night freezes it, and the ice expands with enough force to crack concrete. The crack widens. More water gets in. Next winter, the same cycle repeats, and the crack grows from a hairline to a fissure to a chunk of crown missing entirely.
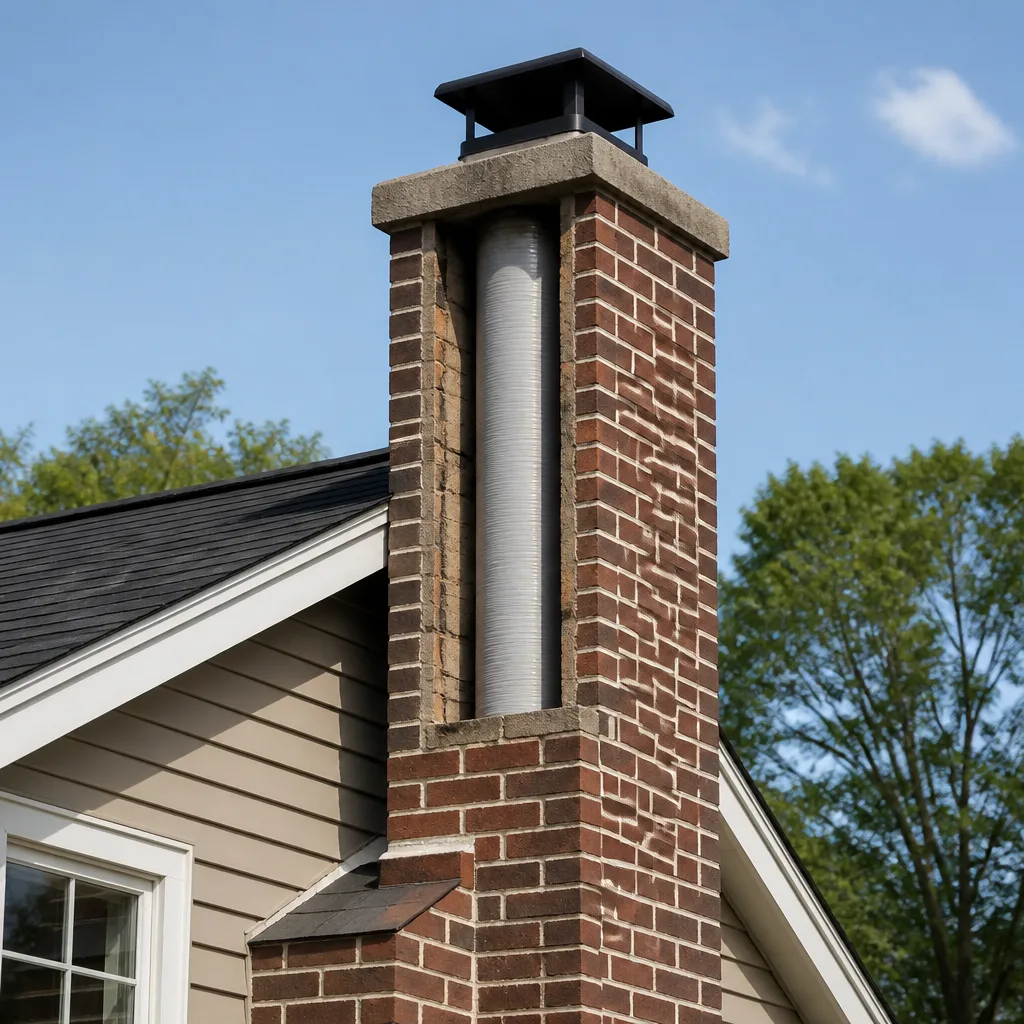
The first cracks look like fine spider lines radiating out from the flue tile, or a single line running from the flue to the outer edge of the crown. On a poured concrete crown, you’ll sometimes see spalling, which is the top surface flaking off in thin layers, exposing the aggregate underneath. On an older mortar crown, which you’ll find on many chimneys built before the 1980s in Coventry, the whole surface can develop a crumbly, sandy texture that you can scrape with a fingernail.
Here’s the sequence we see in Coventry homes, year after year:
- Hairline crack opens in the crown, too thin to notice from the ground, often along the mortar joint between the flue tile and the crown itself.
- Water sits in the crack through the fall, freezes through the winter, and the crack widens to about 1/16 inch.
- The crack reaches the outer edge of the crown, and now water is running down the face of the brick chimney, not just sitting on top of it.
- Freeze-thaw starts popping the brick faces, and the top three or four courses of brick begin to spall.
- The flue tile itself cracks, which is when you start getting water in the firebox and the smell of damp masonry in the living room.
None of this is theoretical. In our nearly three decades working in Coventry, we have pulled more failed crowns off chimneys than we can count, and the story is always the same: the crack was visible two years before anyone called. Once a year, burn or no burn. Chimneys break in the off-season too. The crown is where they break first.
The Seasonal Inspection Sequence: What to Check From the Ground vs. What Needs a Ladder
This is the core of the checklist, and it’s designed for what a Coventry homeowner can actually do without putting themselves at risk. There are two tiers here. The first tier is a ground-level inspection with a pair of binoculars, something you can do in fifteen minutes with a cup of coffee. The second tier requires a ladder and a roof, and we want you to think hard before doing it yourself. Chimney work from a roof is where the real injuries happen, and a fall from even a single-story roof can change your life. That tier is where a professional earns his fee.
Ground-level sequence, spring and late fall:
- Stand on the side of the house where you can see the cap and crown with the most sky behind them. Morning light works best because it rakes across the surface and shows cracks as shadow lines.
- Look at the cap first. Is it square to the flue? Is there any rust staining? Can you see gaps between the cap base and the tile? A good pair of 10x binoculars will show you screw holes and seam lines.
- Now the crown. Look for shadow lines that indicate cracks, any missing chunks along the outer edge, and any places where the crown surface looks wet when the rest of the chimney is dry.
- Check the top three or four courses of brick below the crown for spalling, flaking, or a white powdery residue, which is efflorescence, the salt deposit water leaves behind as it evaporates through the brick.
- Walk around the house if you can. The back side of the crown, the side facing away from the street, is where most crowns fail first, because that’s the side no one ever looks at and the side that gets the least sun to dry it out.
Ladder-and-roof sequence, only if you’re comfortable on a roof and have another adult on the ground:
- Get on the roof and walk, don’t climb, to the chimney. Carry a small screwdriver and a flashlight, nothing else. Keep both hands free on the ladder.
- Check the cap screws with the screwdriver handle; if they turn by hand, they need tightening or the cap needs remounting with a proper high-temp sealant.
- Run a fingertip along the crown surface. If it feels sandy or crumbly, that’s the surface breaking down. If you can slip a dime into any crack, it’s time to seal it.
- Look at the flue tile itself. If you see vertical cracks or missing pieces, the flue is compromised, and that’s beyond a DIY fix. That’s a call to someone who does Chimney Liner & Rebuild in Coventry work every week.
We want to be plain about this: the ground-level check is the one that matters. Do it twice a year and write down what you see. If you’re not comfortable on a ladder or the roof, don’t go up there. That’s what we’re for, and a Chimney Cleaning & Sweep in Coventry visit is the cheapest ladder-worthy inspection you’ll ever schedule, because the sweep is already up there looking at everything.
Cap Sizes and Mesh Gauges for Standard Coventry Flue Tiles
If you’re going to buy a cap at the hardware store or order one online, you need to know exactly what you’re looking for, because the big-box shelves are full of caps that won’t fit a standard Connecticut flue tile. Coventry chimneys, especially those built between 1960 and 1990, run mostly on two flue tile sizes: 8×8 and 8×12, with the occasional 12×12 on larger fireplaces and 13×13 on some masonry heaters. Before any work, check Chimney Cleaning Permits, Codes & Inspections in CT: What You Need to Know. Clay flue tiles have an outside dimension that’s about 1.5 inches larger than the inside dimension, so an 8×8 tile has a roughly 9.5×9.5 outside measurement, and that’s the number the cap has to fit.
Here’s the practical breakdown:
- 8×8 inside flue tile: You need a cap with a base that fits a 9.5×9.5 outside dimension, usually listed as an 8×8 cap. Standard hood coverage is 13×13 or 14×14.
- 8×12 inside flue tile: This is the workhorse size for open fireplaces in Coventry. You need a cap listed for 8×12 outside dimensions around 9.5×13.5. Standard hood coverage is 13×17 or 14×18.
- 12×12 inside flue tile: Common on wood stoves and larger masonry fireplaces. Look for a cap listed for 12×12 with outside dimensions around 13.5×13.5.
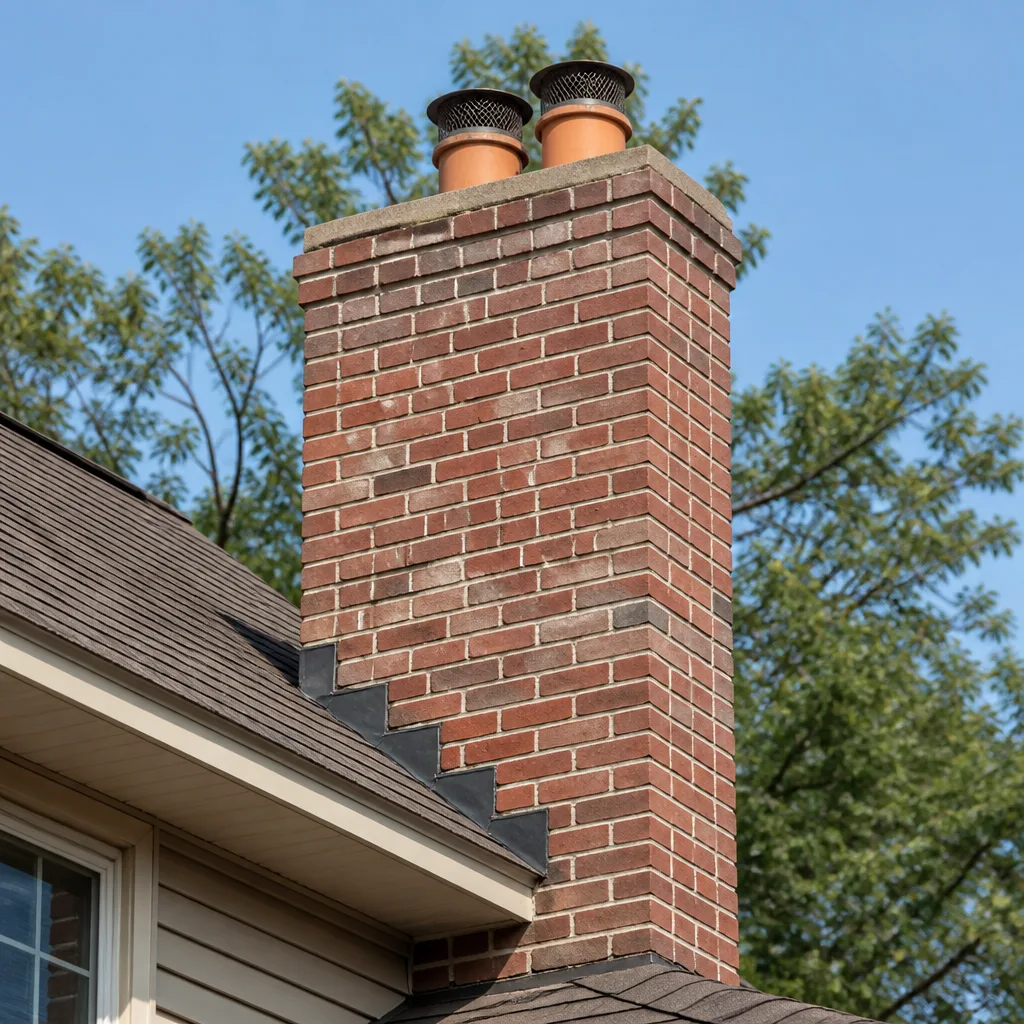
Mesh gauge matters more than most people think. Cheap caps use 3/4-inch mesh, which stops squirrels but lets starlings and sparrows right through. A starling will build a nest in a flue in about three days, and a starling nest in a flue is a chimney fire waiting to happen, because it blocks the draft and ignites from rising heat. We use caps with 5/8-inch mesh at minimum and prefer stainless steel mesh, not galvanized, because galvanized mesh rusts out within five to seven years in Coventry’s damp climate. Stainless mesh and stainless hoods last twenty years or more. Brands we trust and install regularly include Gelco and Olympia Chimney, both of which make properly sized stainless caps with welded mesh, not crimped.
The mounting method matters too. A cap that slides over the flue tile and gets secured with screws through the base is fine. A cap that just sits on top with a friction fit is not fine, because Coventry wind will take it. The ridge lines along Route 44 and the hills around Wangumbaug Lake see gusts that will peel a loose cap off like a lid off a jar.
And a note on the flue itself before you buy: if the tile is already cracked, a new cap won’t fix the problem. You’ll be capping a broken flue. That’s a liner question, not a cap question, and it’s worth a conversation before you spend the money. Our Chimney Liner & Rebuild in Coventry work starts with a camera, because you can’t see what’s happening inside the tile from the roof, and we won’t ask you to spend a dollar on a problem we haven’t shown you on video first.
How to Document Cap and Crown Condition Year Over Year
The reason most homeowners miss crown deterioration until it’s structural is that they’re comparing this year’s chimney to a memory, not to a record. Memories fade. Photos don’t. We’ve had Coventry customers pull out phone albums from five years back, and the difference between year one and year five is obvious when you see the images side by side. It wasn’t obvious while it was happening. That’s how slow crown failure works.
Here’s a documentation system that takes ten minutes a year and will tell you more than any single inspection ever will:
- Stand in the same spot every year. Pick a place that gives you a clear, unobstructed view of the cap and crown, and put a small mark on the ground, a paver, a rock, a flag, so you’re shooting from the same angle every time.
- Shoot six photos: one from the front, one from the back if you can reach it, one from each side, and two close-ups through the binoculars if you can hold the phone steady against them.
- Label the photos with the date and the season in a phone album called “Chimney.” That’s it. No app, no spreadsheet, just a folder.
- Every spring, before you put the photos away, compare this year’s shots to last year’s, side by side. Look for any crack that’s longer than it was, any chip that’s bigger, any rust streak that’s darker.
- If you see change, write it down. One line. “Crack on back side of crown grew about half an inch.” That’s the kind of note that tells us everything when you call.
You don’t need to document cap condition with the same rigor, because caps fail faster and more visibly. A cap either looks right or it doesn’t. But the crown, the crown needs the long view, because that’s how it fails. Over years, not seasons. The homeowners who catch crown cracks early, the ones who just need a $300 sealant job instead of a $2,000 recast, are the ones who have been taking photos for a while. Ask anyone on your street. The neighbors who’ve lived here thirty years all have a chimney story. Most of them involve a repair that could have been smaller if someone had looked sooner.
Common Mistakes to Avoid
- Ignoring the cap because it “looks fine” from the driveway. The cap fails at the seal, not the hood. The rust and gaps you can’t see from the ground are the ones causing the damage. A cap that looks fine from forty feet away is the one that surprises you.
- Sealing the crown with a hardware-store caulk instead of a real chimney crown sealant. Regular caulk is not rated for the thermal cycling a chimney crown goes through in a Coventry winter. It hardens, cracks, and peels within a year. Use a flexible, water-based crown sealant, or call someone who carries the right material.
- Buying a cap without measuring the flue tile first. A cap that’s too small doesn’t cover the opening; a cap that’s too big doesn’t seal. The flue tile dimension, not the cap’s listed size, is the number that matters. If you’re not sure, measure the outside of the tile before you buy anything.
- Assuming the crown is fine because there’s no visible leak inside. Crown cracks let water into the masonry itself, not into the living space, until the damage is advanced. By the time you see water inside the house, the crown has been failing for years. The leak you can see is the last stage, not the first.
- Putting off cap replacement because “it’s just a cap.” An open flue in a Coventry winter is an invitation for rain, snow, and animals, and a blocked flue is a carbon monoxide risk that no one should mess with. The cap is the cheapest insurance policy on your chimney. Replace it when it fails.
- Climbing the roof for an inspection without a plan or a spotter. Most chimney maintenance injuries are falls, and most falls happen doing something that felt routine. If you’re not comfortable on a roof, stay off it. The cost of a professional inspection is less than the deductible on an emergency room visit.
When to Call a Professional
Call a professional when the crown has a crack wide enough to slide a dime into, when the cap has separated from the flue tile or is missing screws you can’t reach safely, when the flue tile itself shows vertical cracks or missing pieces, or when you’ve noticed efflorescence or spalling on the brick below the crown. Those are structural signals that a sealant tube won’t fix. Call also if your cap has blown off entirely, because an open flue in a Connecticut winter is not a thing you want to put off. Top Hat Chimney offers free estimates in Coventry, and if you’re inside the county, there’s no trip charge. Call (860) 743-7732, and we’ll bring a camera. The camera footage and a plain-English verdict, every time, no exceptions.
Frequently Asked Questions
Twice a year, in spring and late fall. The spring check catches freeze-thaw damage from winter, and the fall check makes sure the cap and crown are ready for the next round. Both checks take about fifteen minutes from the ground with binoculars, and the fall one matters most in Coventry because that’s when you’re about to light the first fires.
A stainless steel cap replacement in Coventry typically runs $150 to $400 installed, depending on whether it’s a single-flue or multi-flue cap and whether the existing cap needs to be cut off. Hardware-store galvanized caps cost less upfront but rust out within five to seven years in our climate. Call (860) 743-7732 for an exact price, and remember that if it’s a repair over $200, there’s $40 off on us.
A crown repair in Coventry runs anywhere from $300 for a sealant job on small cracks to $2,000 or more for a full recast with proper overhang. The number depends on how far the cracking has gone and whether the flue tile needs to be addressed at the same time. If you catch cracks when they’re still hairline, you’re on the low end. Call (860) 743-7732 for a free estimate with no trip charge inside the county.
Yes, and this is one of the most common questions we get in Coventry. An unused flue is actually more vulnerable than a used one, because nothing dries it out and animals are more likely to nest in a quiet chimney. The cap keeps water, leaves, and animals out whether you burn or not. Once a year, burn or no burn. Chimneys break in the off-season too.
The crown is the mortared or concrete slab at the very top of the chimney that sheds water away from the brick. The cap is the metal assembly that fits over the flue tile to keep rain, snow, and animals from going down the hole. They work together, and they fail differently, which is why this checklist covers both.
Small hairline cracks can be sealed by a homeowner with a flexible, water-based crown sealant rated for masonry chimneys. The problem is that most hardware-store products aren’t rated for the thermal cycling a Coventry winter puts a crown through. If the crack is wider than a dime, or if the crown is spalling or crumbling, that’s a recast, not a sealant job. Call (860) 743-7732 and we’ll give you the straight answer, even if the straight answer is that it can wait a year.
The Bottom Line
The cap and crown are the two cheapest things on your chimney to maintain and the two most expensive to ignore. Check both twice a year, from the ground if that’s all you can manage, and write down what you see. Catch crown cracks while they’re hairline, and you’re looking at a $300 sealant job. Wait until the brick starts spalling, and you’re looking at a recast, maybe a liner, maybe more. Coventry’s weather is hard on chimneys, all freeze and thaw and damp shade, and the only thing that beats it is looking sooner. Call (860) 743-7732 for a free estimate on any cap or crown work, and remember: the number you hear on the phone is the number on the invoice. No surprises. That’s how Top Hat Chimney home service works, and it’s how it’s worked since 1999.
Written by Wendell Pike, Owner at Top Hat Chimney, serving Coventry since 1999.